A walkthrough activating Tygrys system
If you are considering buying a Tygrys system and are wondering how this process looks like, what you need, what to prepare, continue reading.
The post should give you an idea of the process and explain some details.
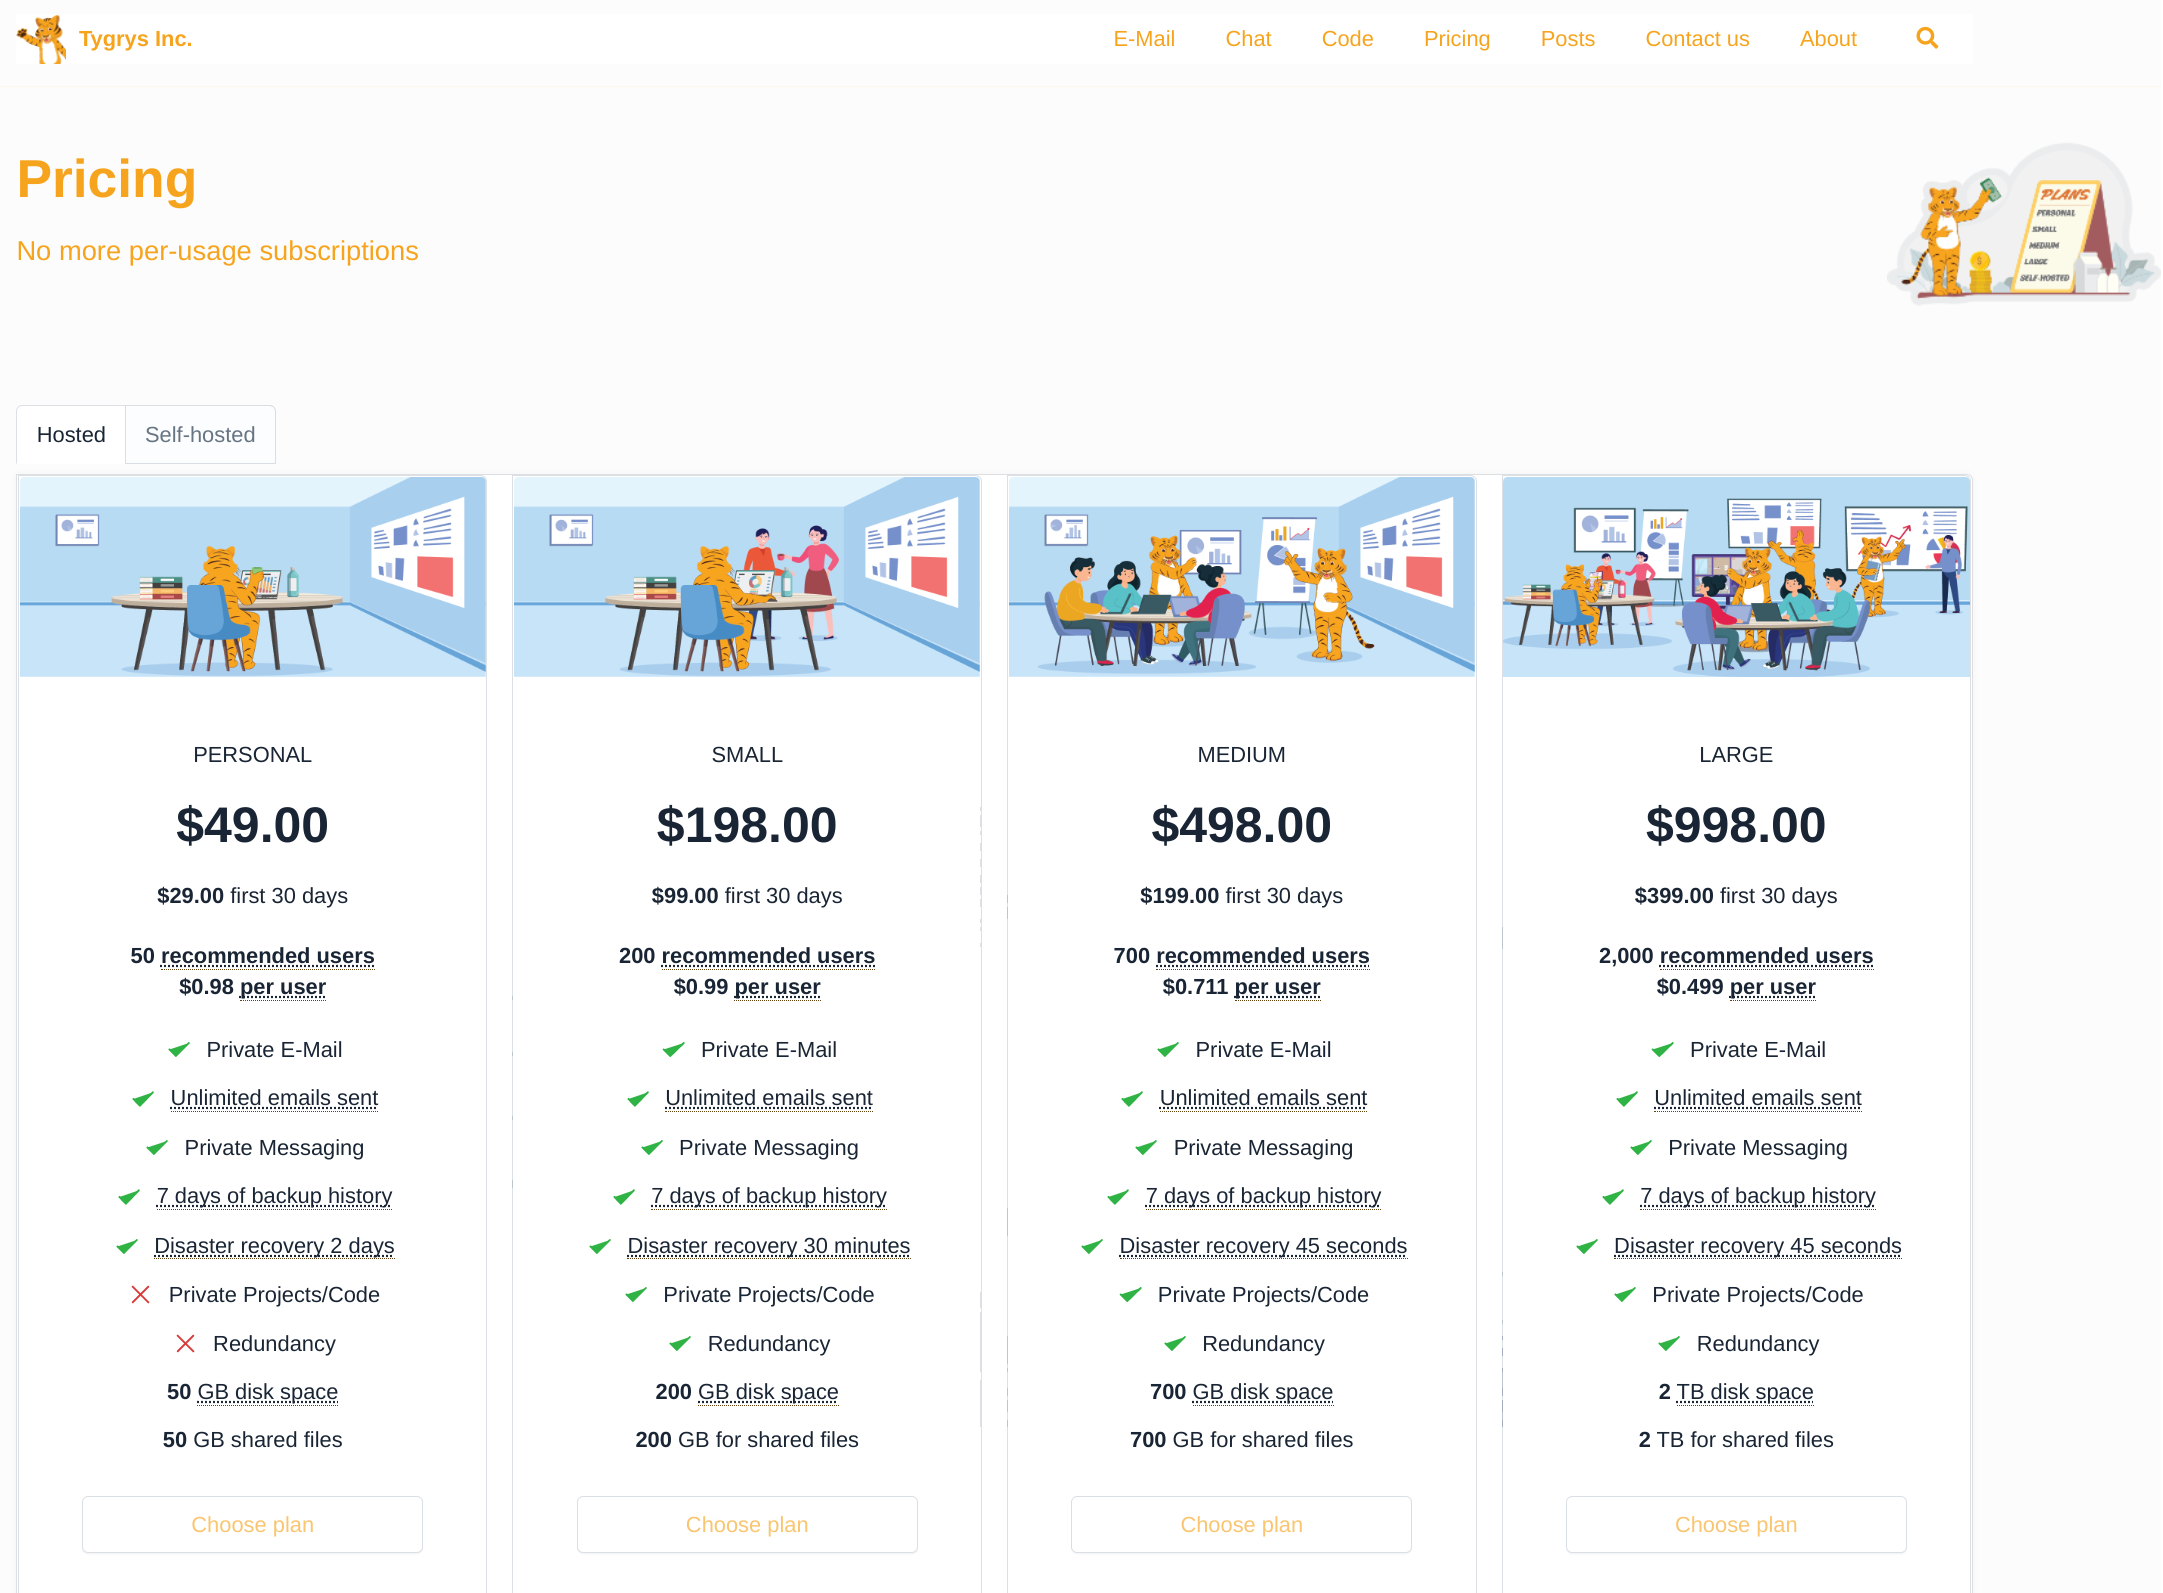 Ok, you came to our website and decided to give it a try. You first, need to decide which option you need.
As explained in the “which is best for me” article you have to decide what you need and which system would best suite your use-case.
When you are ready just click on “Choose plan” button.
This takes you to the Tygrys Admin UI where you can select your system, make payment and activate it.
Login page
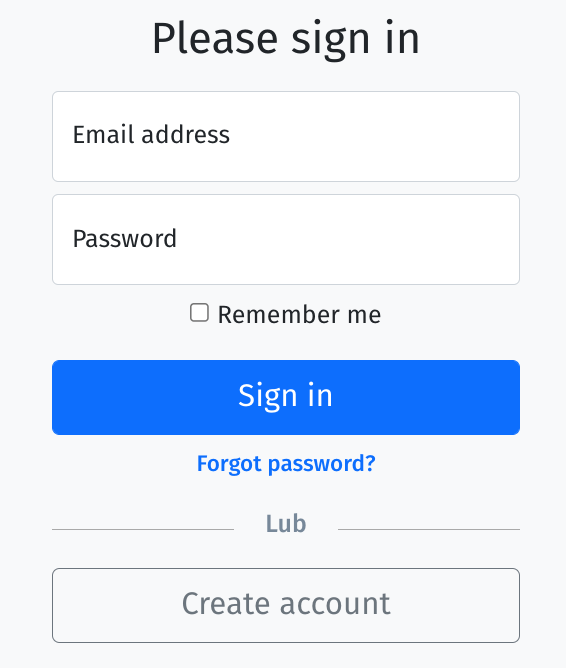 The first thing to do it to log in to the Tygrys Admin UI. Simply, provide your user nane (email address) and
account password and you are in.
If this is your first time, you do not have an account yet. Click on “Create account” button to create an account for you.
As you will see the registration process is very simple and quick.
Register an account
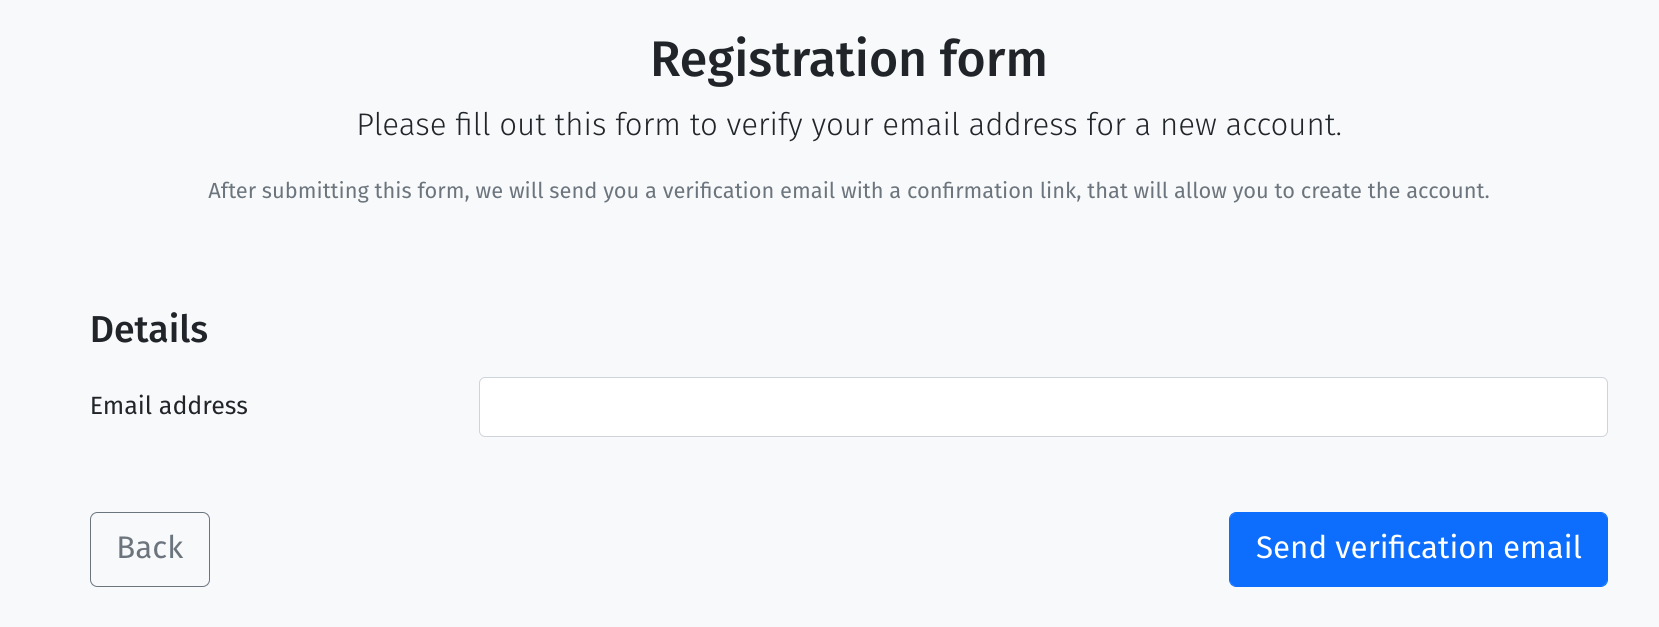 To register and open an account in Tygrys Admin UI, you only need to provide your email address.
Tygrys will send an activation link to the address, so watch your email box. If the email has not come within a few seconds, then maybe it is sitting in the spam folder.
When you are ready hit “Send verification email.”
Enter account details
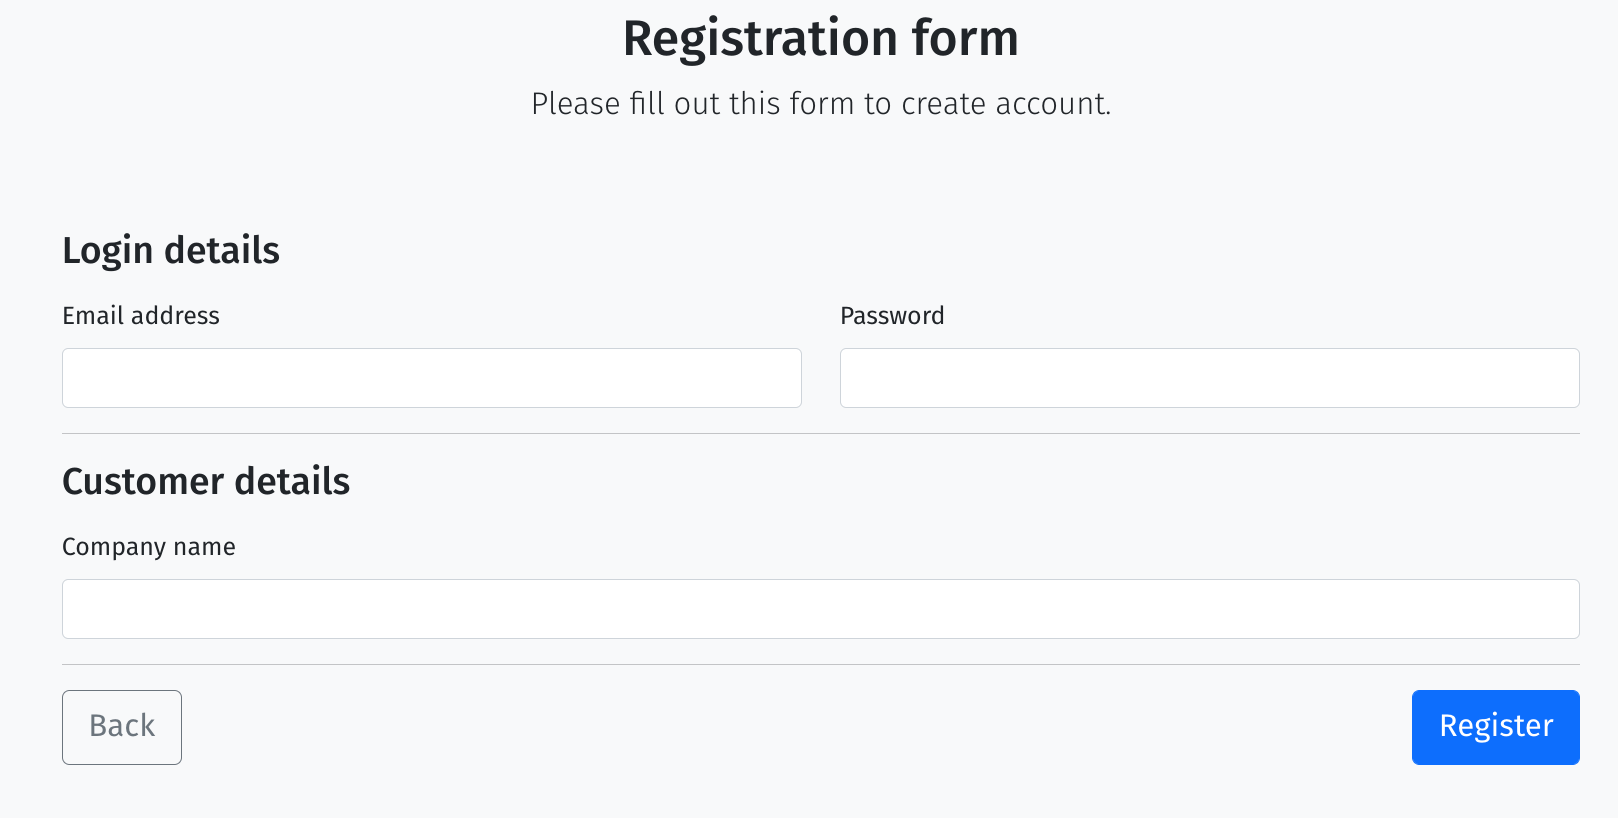 In a short while you should receive an email with registration link. Enter all information as requested and click
“Register”.
Please note, you have to enter here the same exact email address which you provided in the previous step. This is another validation mechanism to eliminate malicious or robots creating accounts on our system.
Login to your account
 Now, go back to login page and sign in. You will see your account page with an empty subscriptions list. You
are now ready to create your first subscription.
You will be greated with an account page with an empty list of your subscriptions. Yes, empty because you do not have any subscriptions yet.
To create one, click on “Buy subscription” button.
Select subscription
Now you are presented with all available subscriptions. This is where you make the final decision on the system you buy.
There are quite a few options available, and you have to choose the right size and type for your requirements. If you are not sure what you should choose, please refer to this post which should help you to make the decision or contact our support team with any questions.
Enter payment information
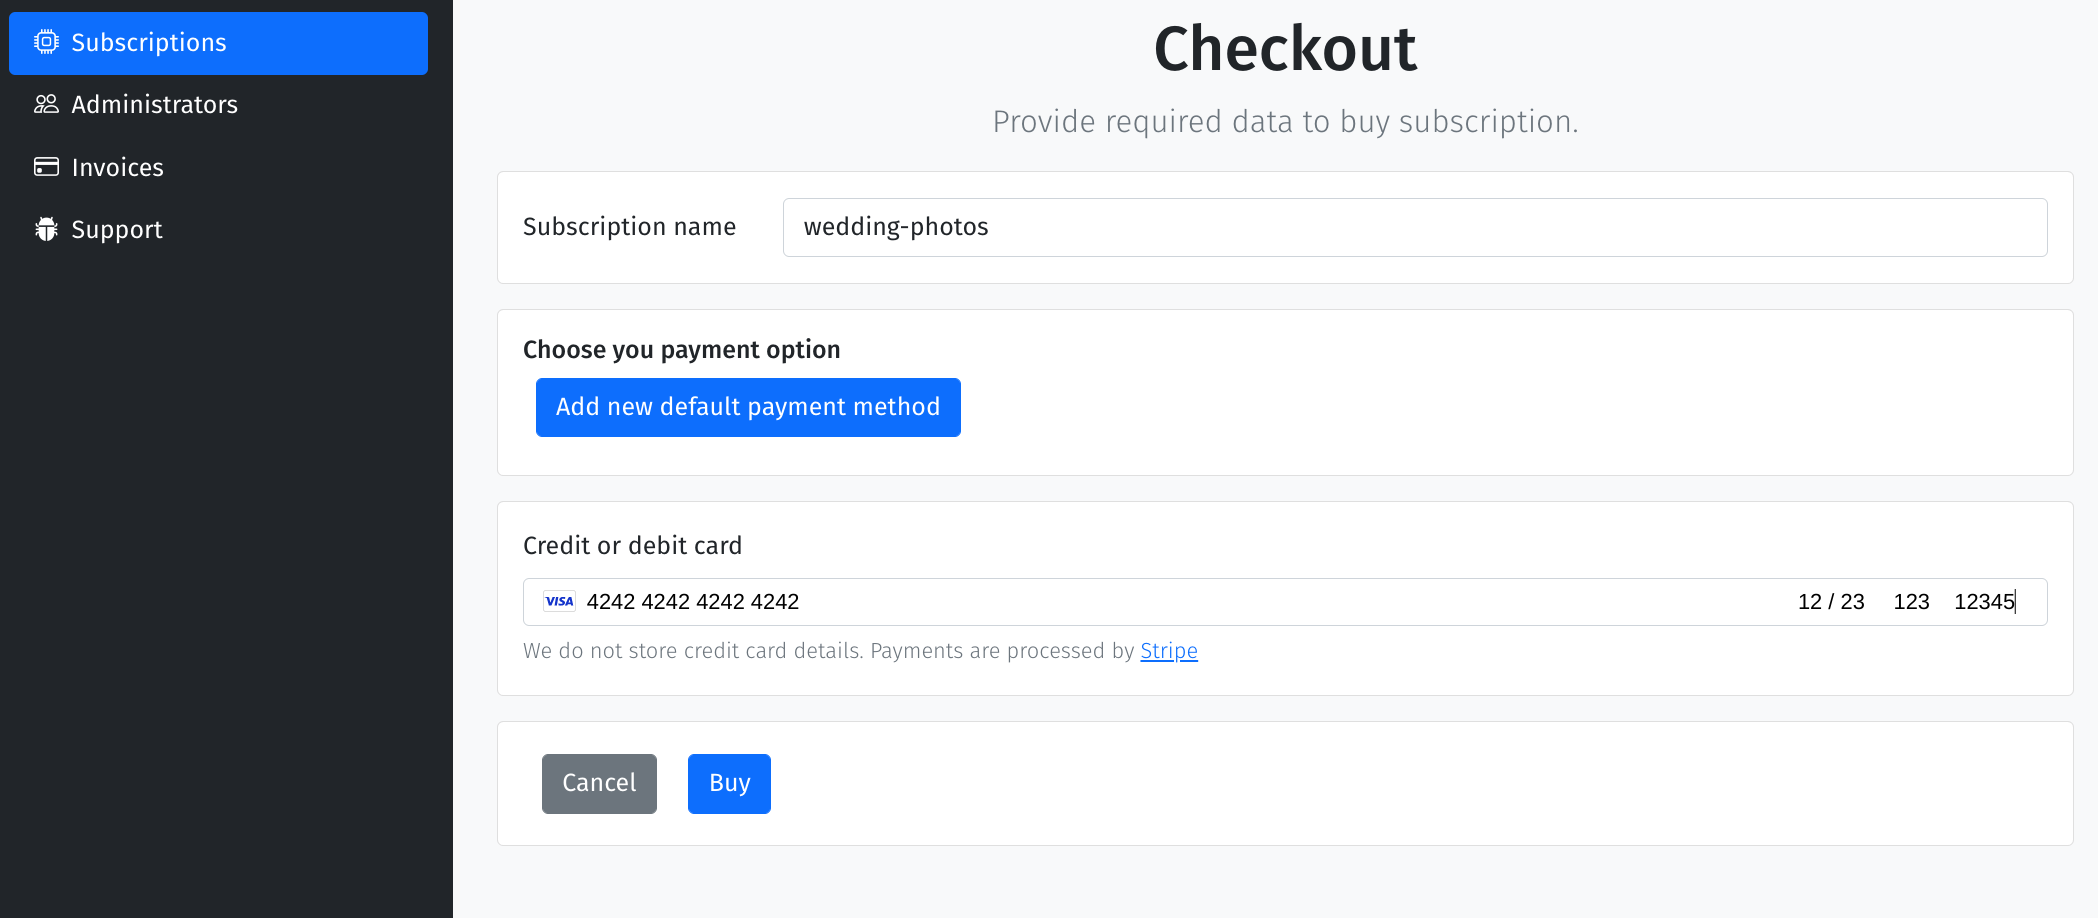 You need to enter your subscription name. If you plan to have more than one system, each subscription has
to have a different name. This name will also be a part of the main internet address associated with this system.
It will look like: “company.tygrys.one”.
Typically, customers choose their company name as the subscription name. If you plan to have multiple subscriptions then, maybe using a group name of the group of people who will be using this system is a good idea.
On this page you also have to provide the payment information to activate the subscription. Please note, if there are any discounts offered on our website pricing page, they will be automatically applied to your first payment.
Click “Buy”.
Your subscription is being created
 Once the payment is confirmed, you will be directed back to your account page with the just created subscription
on the list. The system is being created, so there is not much information here.
You should also receive emails with notifications about generated invoice and processed payment.
After a while more details
 Wait a while and refresh the account page. More details should be now displayed. If it does, click on the
subscription to see subscription page.
Subscription page
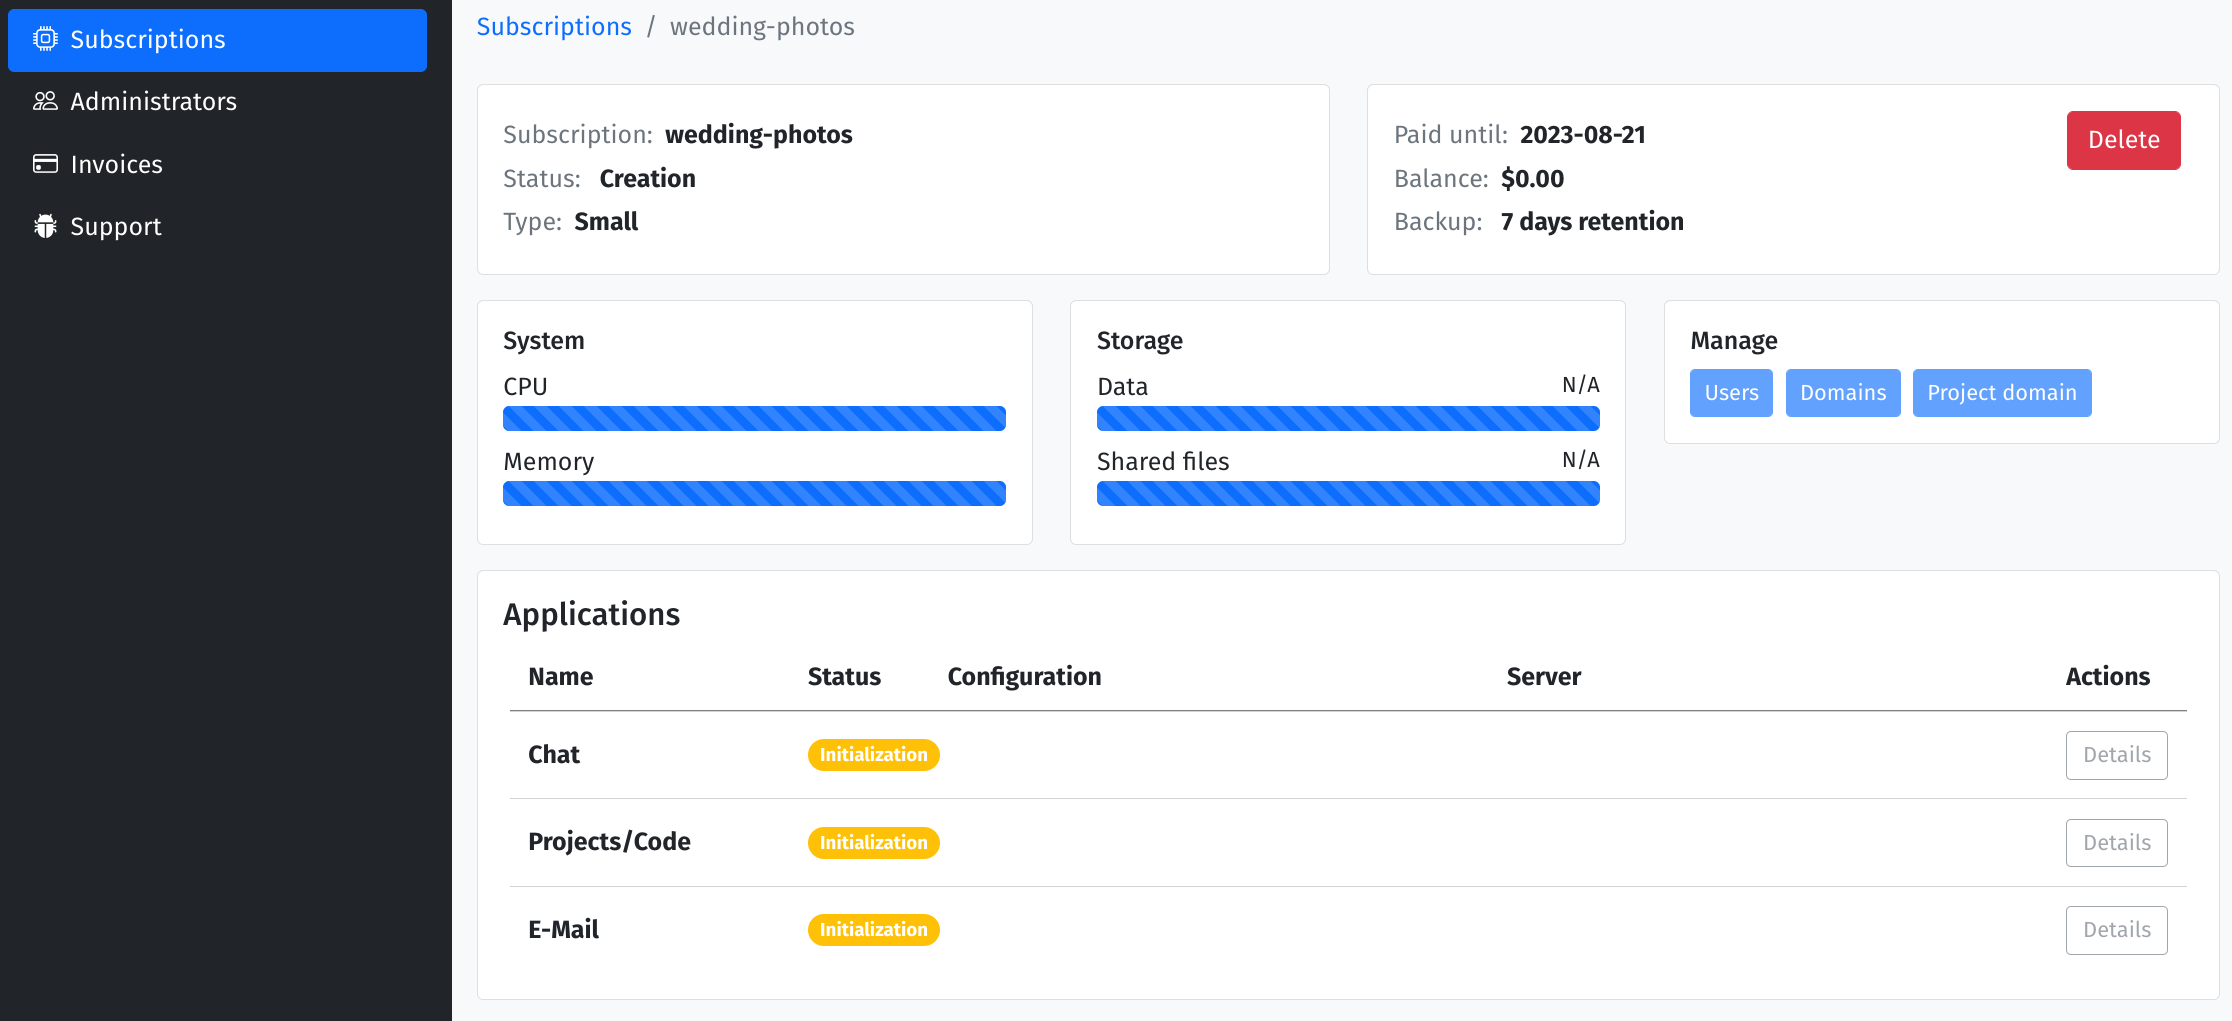 You can now see a lot of details about the system but it is not ready yet. You can see the yellow “Initialization”
status on the applications.
It takes about 15 minutes for the system to be completely ready. You will receive an email notification when the system is ready to use.
Subscription ready to use
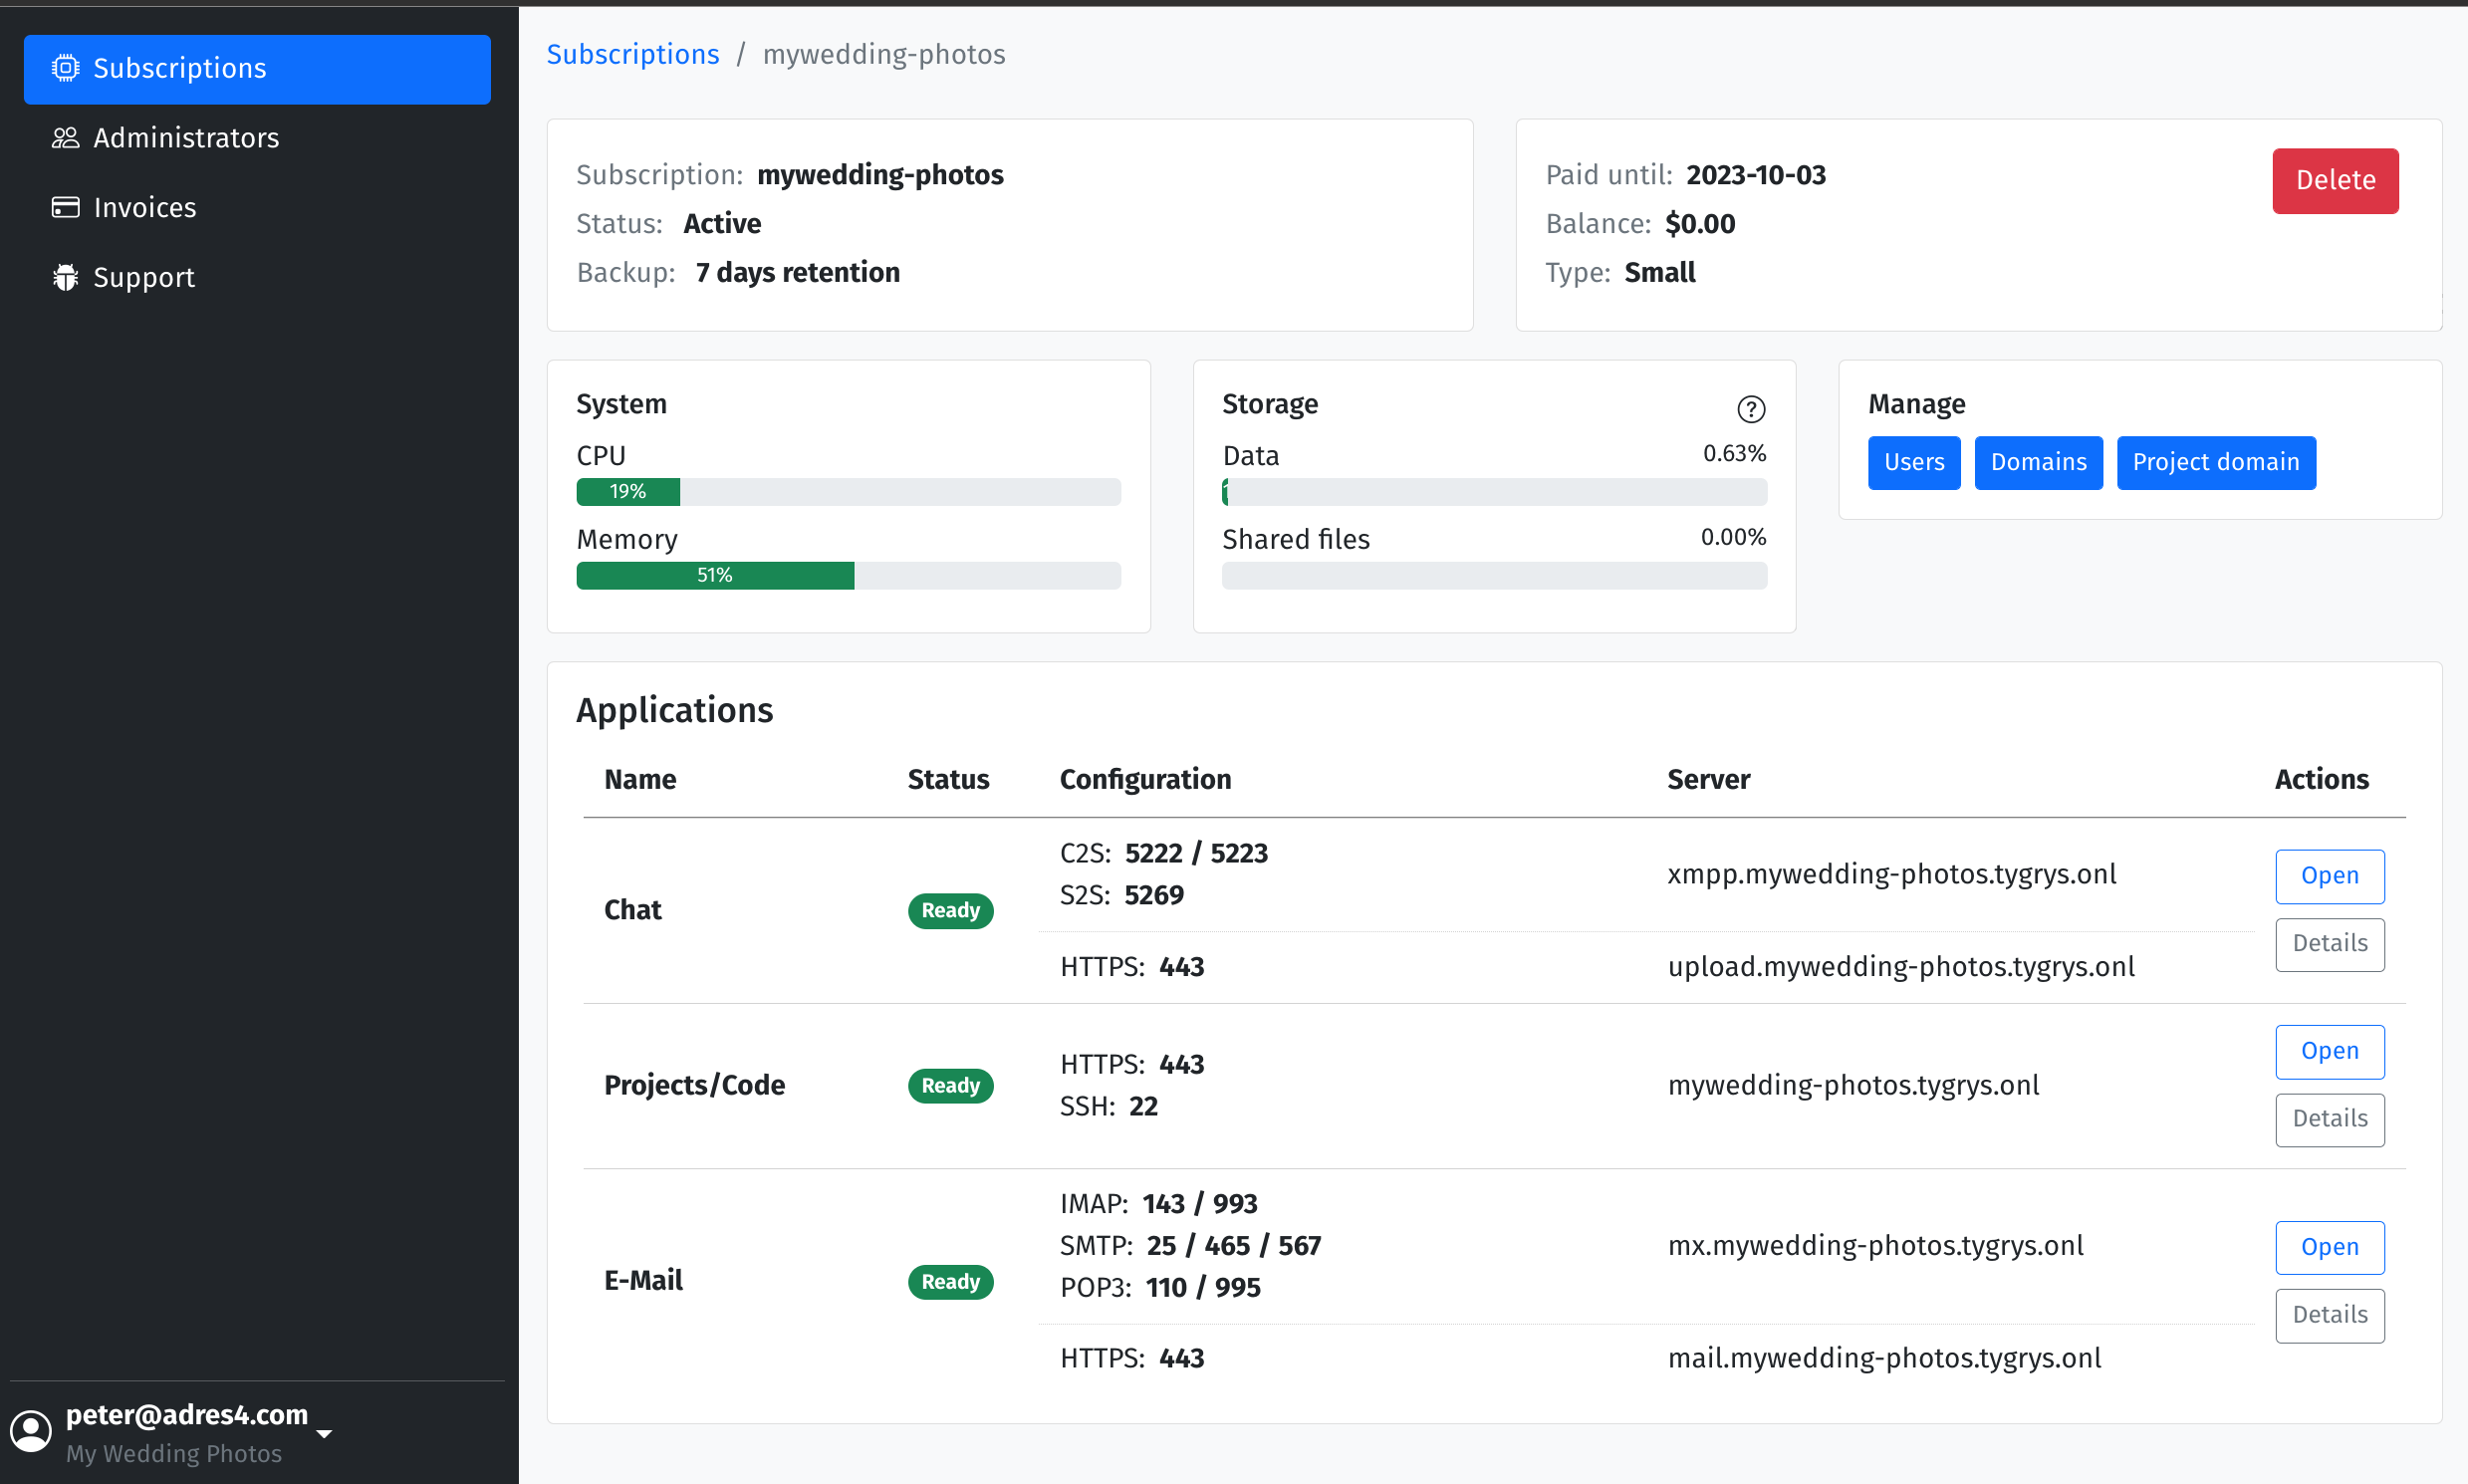 When all the apps status turns to green, the system is fully deployed and ready to use.
Explore the subscription page to learn about all the options.
If you would like to learn more about a specific option or functionality, refer to our other posts which provide walkthrough many common tasks.
