Adding and maintaining users on the Tygrys system
If you have your first Tygrys system up and running, you may wonder what now. How do I connect to the system and start using it?
Well, there is nothing magic about it. You just need a user account to connect in to e-mail, chat and projects management service. Continue reading to learn on how to add, maintain and give certain rights to users on the Tygrys system.
Adding users to the system is a simple task.
A user account is identified by the email address, so it consists of the user nickname or a real name and the domain part, which is the internet address. Therefore, if you have more than one internet address added to your system, there will be a separate users list on each of the domains.
For example, in this case, as it shows in the picture below, there are 3 domains (internet addresses). If
we add peter user to each of these domains, it will result in 3 independent user accounts. So this is
something that needs to be understood to avoid confusion.
Why would somebody want to have several domains on his system? Well, in most cases you do not need more than 1 domain. However, if this is a large business with several departments and teams, then it might be useful to split users into separate domains. Or if this is a global company, then department from each country could have own internet address related to the country for all the employees in this country.
If you are a small business or entity, but you have a few internet domains to protect your brand, then it is best to use just one selected domain for your and your team user accounts.
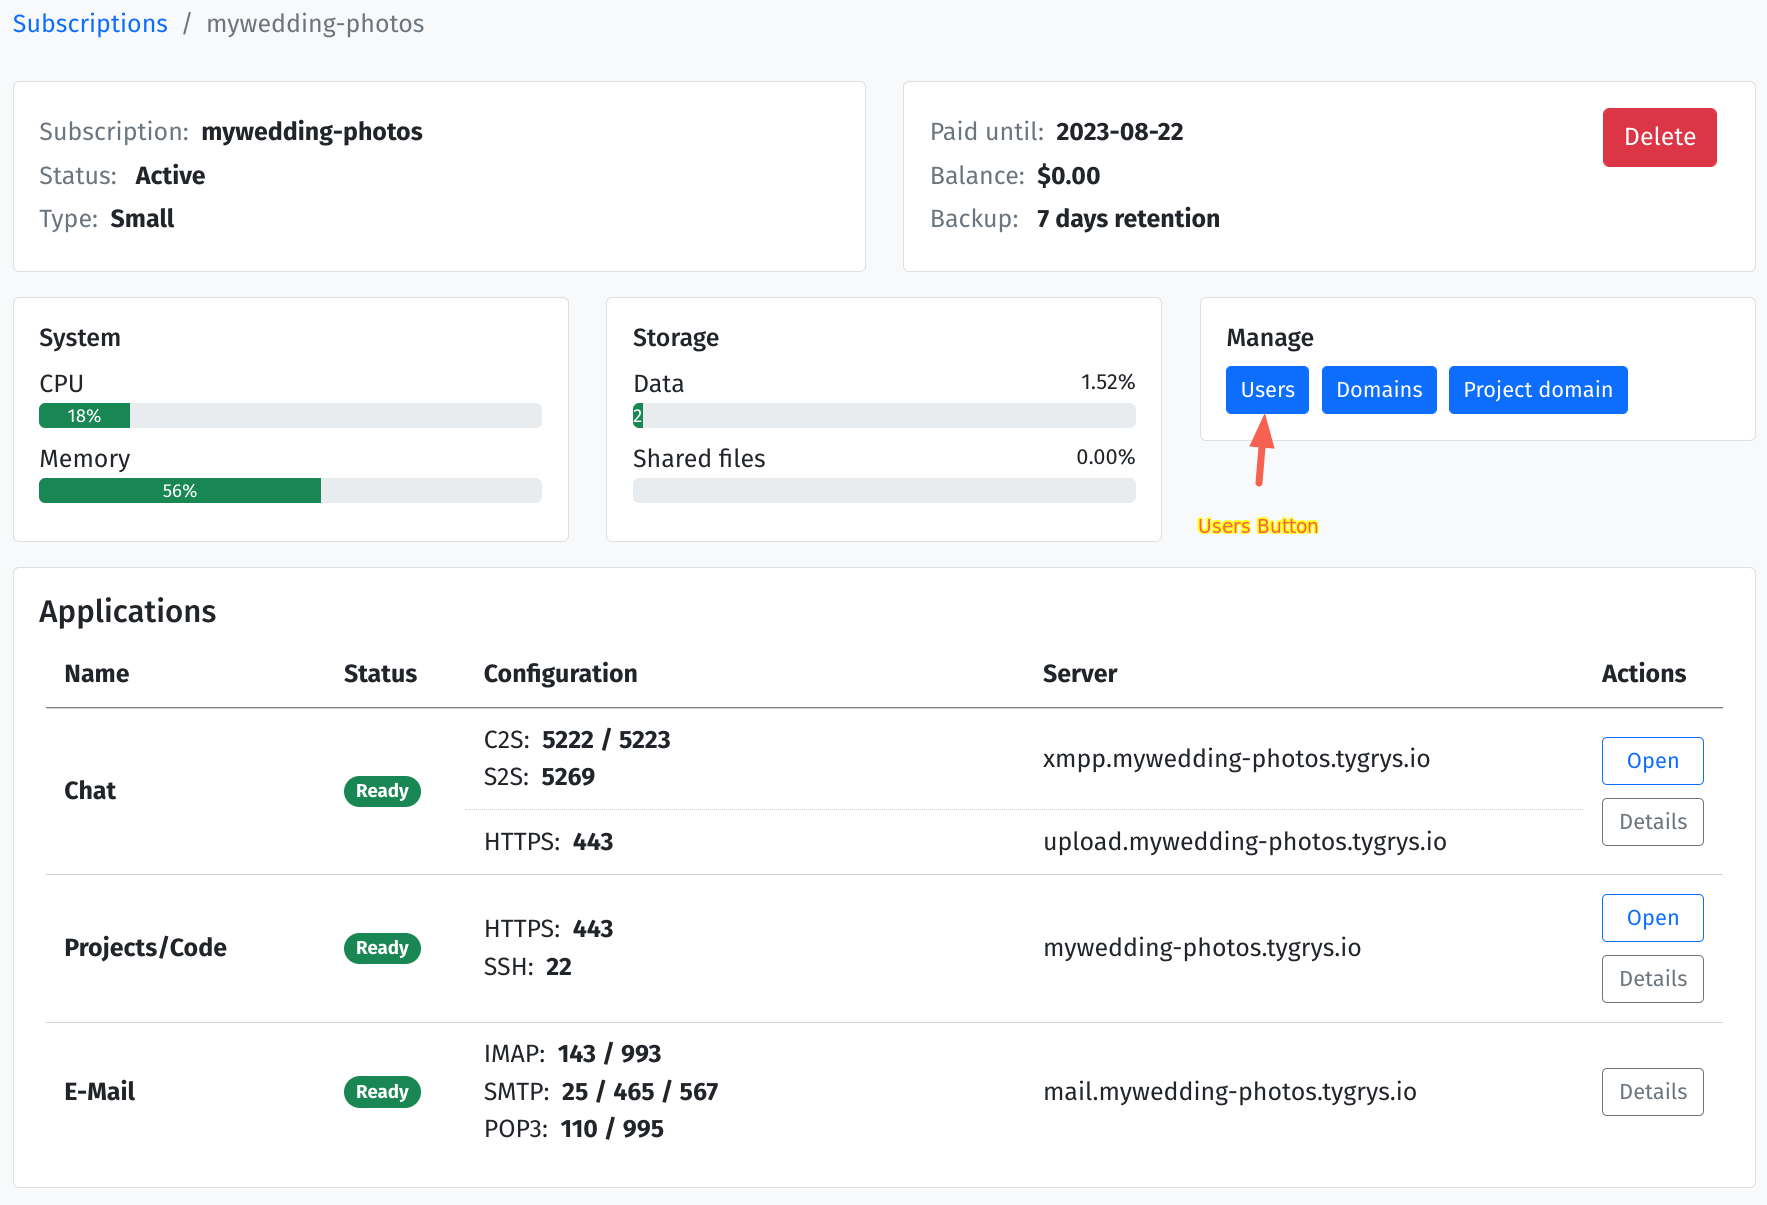
To add a new user to the system, simply click on the Users button next to the internet domain.

Right now, the list is empty. So, to add the first user we have to click Add user button.

Again, a simple form to fill out. Give the user name and password.
You can also choose to make the user admin to give him additional end-user permission.
Right now, admin role gives additional permissions only for the Projects/Code application but this may
change in the future when we expand on this functionality.
Please note. Admin here is different from the Administrators you can see on the left hand side of the
page. This admin is an admin for end-user services like project management system. He will not have access
to this administrator interface and will not be able to see subscription details or the system details.
He will not be able to add/remove users or add/remove domains.
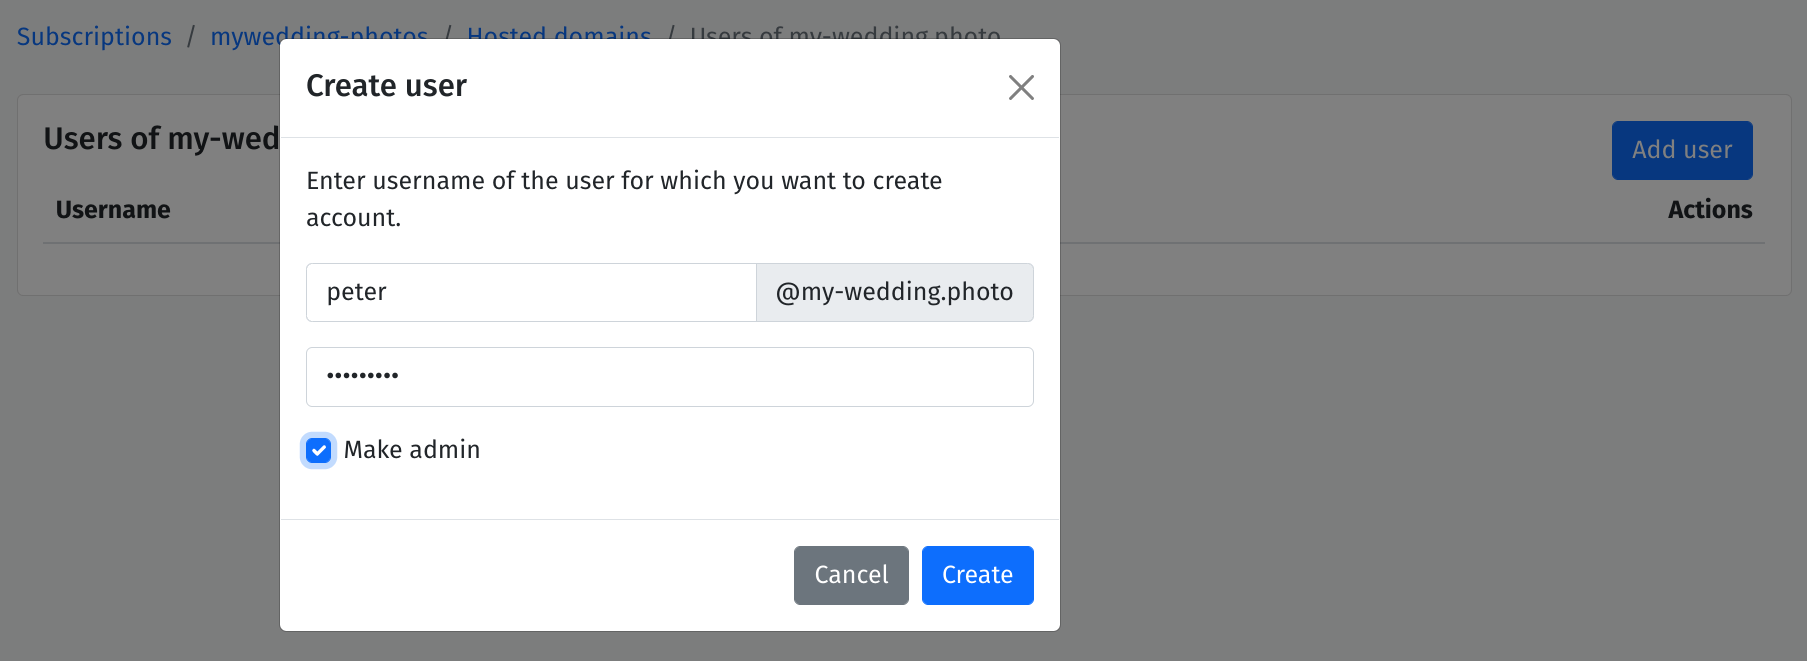
After adding a new user, a new position shows on the users list.

Continue adding a few more users or as many as you need.
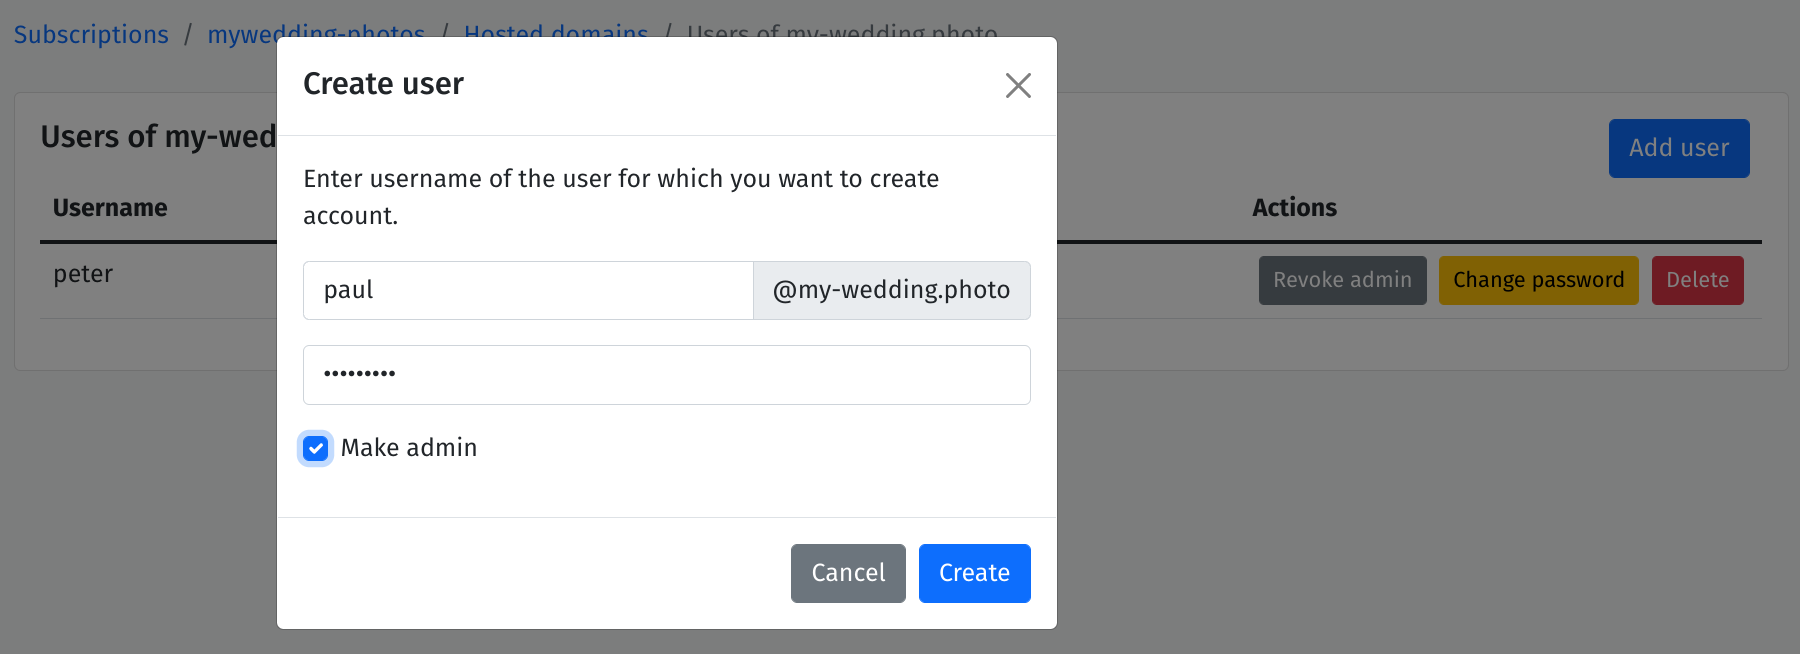
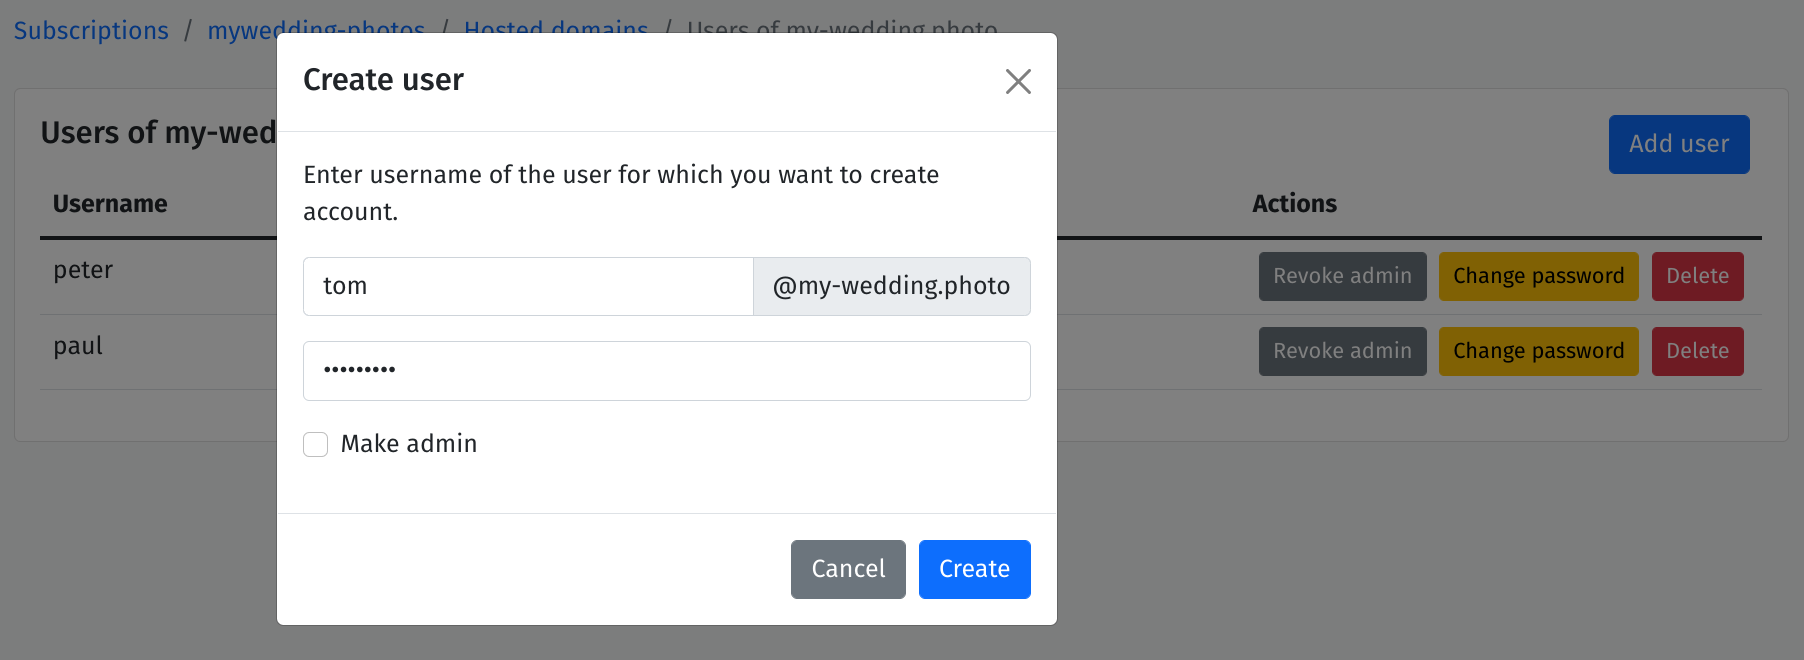
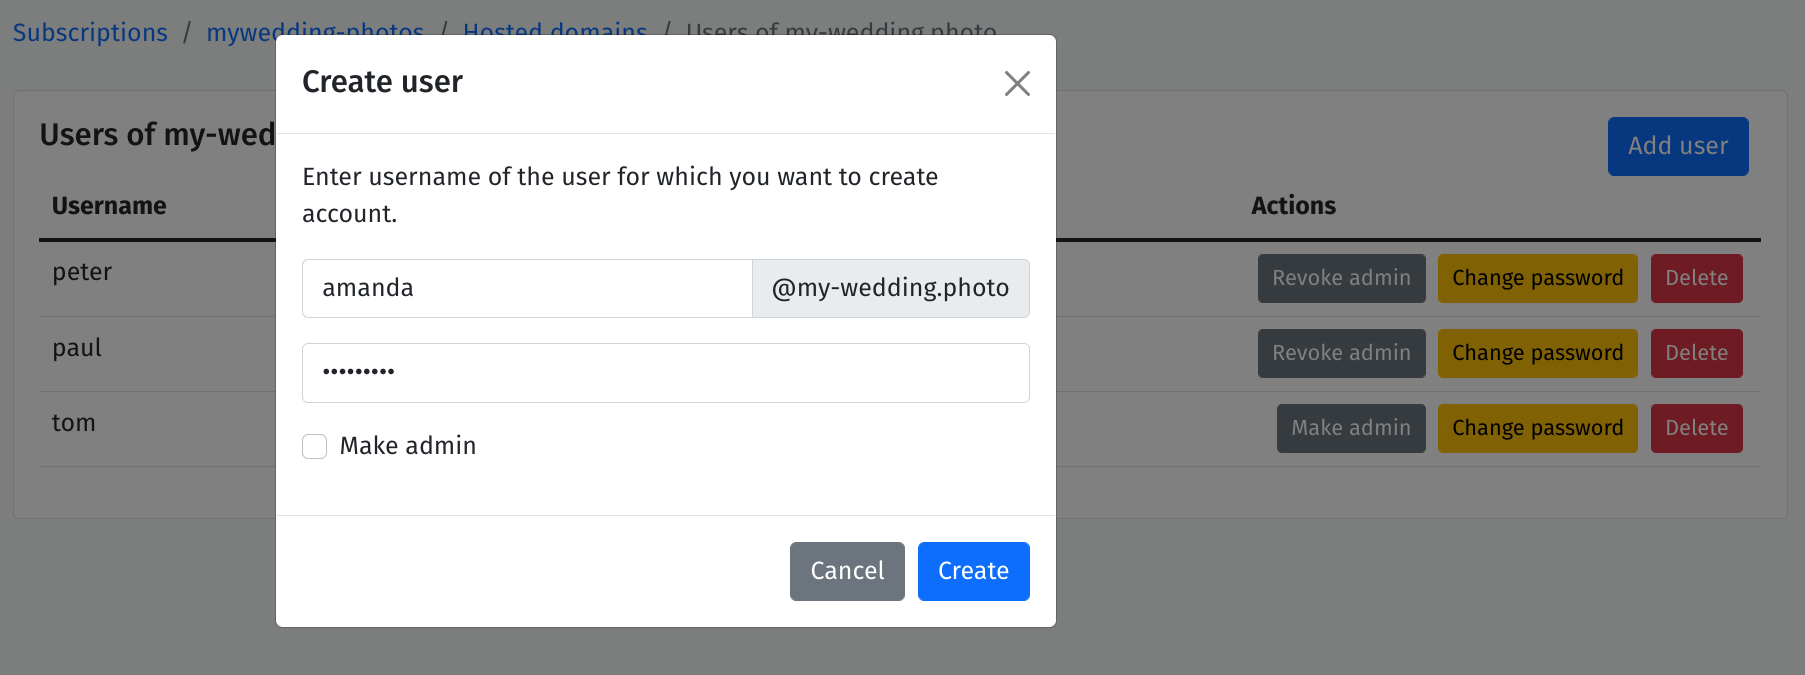
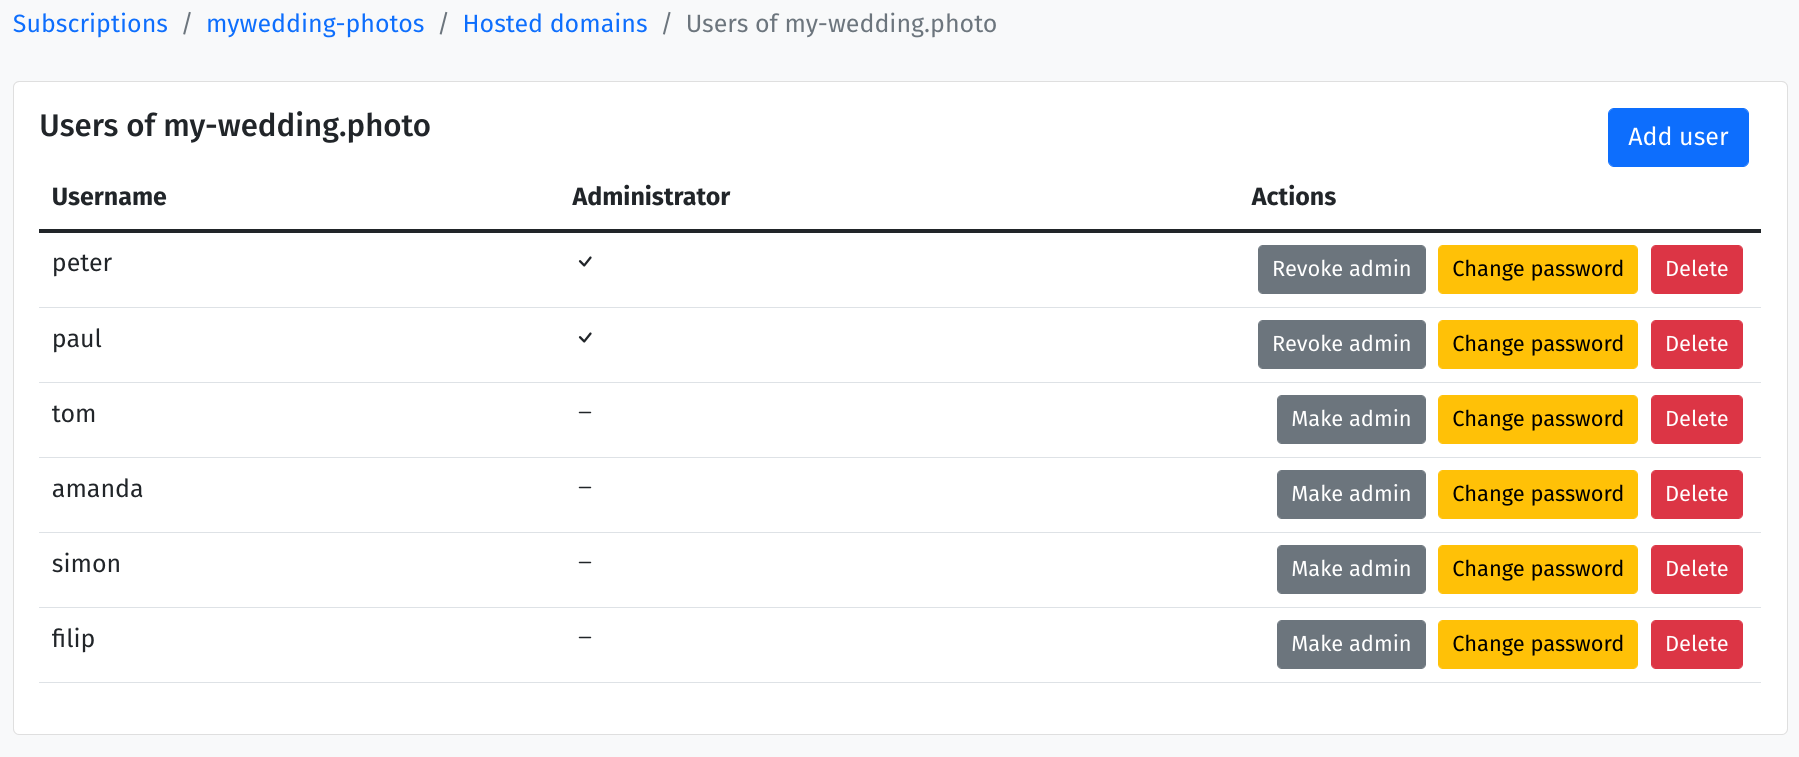
In the end, you will have a list of all users added to your internet domain.
As you can see, you can manage all your users from this screen. You can change the password for the user, manage his admin permissions or just remove the user from the system.
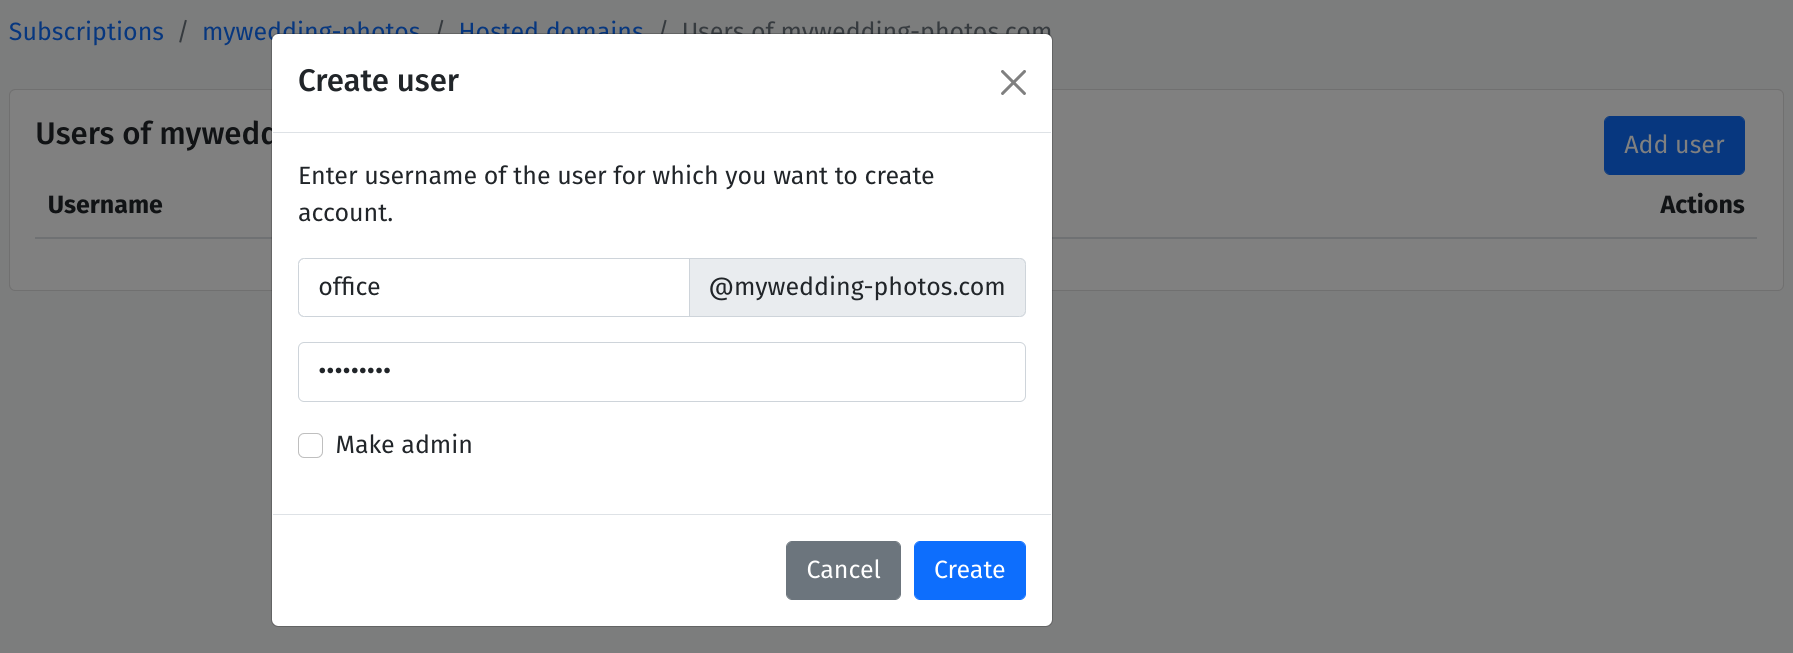
Let’s say, you do not plan to use your other internet domain, but in case somebody sends you a message to that domain, it is a good idea to add an account to monitor mail on this address.

Once you have all your users added to the system you can see all your internet domains with a number of users added to each of them.

